
Installing Proxmox as a Home Server Lab: Step-by-Step Guide
Setting up a home server lab is an exciting way to test out different environments, learn about virtualization, and explore system administration. In this guide, we’ll walk you through installing Proxmox VE on a physical machine and then configuring LXC containers for a lightweight and efficient virtual environment. We’ll also be using some handy scripts from ProxmoxVE community scripts to simplify the process.
Table Of Content
- What is Proxmox VE?
- Prerequisites
- Step 1: Installing Proxmox VE
- Step 2: Installing LXC Containers Using Community Scripts
- 1. Update Proxmox Repositories
- 2. Post-Install Setup for Proxmox VE
- 3. Create a Debian 12 LXC Container
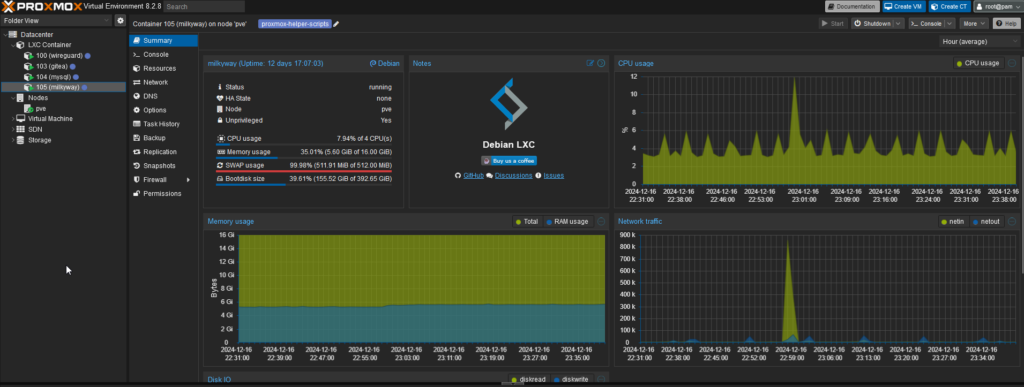
- Step 3: Managing LXC Containers via Proxmox Web Interface
- Step 4: Expand Your Lab – More Containers and VMs
- Step 5: Additional Resources and Customization
- Conclusion
What is Proxmox VE?

Proxmox Virtual Environment (Proxmox VE) is an open-source platform for running virtual machines (VMs) and containers. It uses KVM for virtualization and LXC for containerization, providing a powerful and flexible solution for building home labs, testing environments, or even small production setups.
By installing Proxmox on a bare-metal server, you can create multiple virtual environments to experiment with different operating systems, network setups, or applications. Proxmox’s web-based interface makes it incredibly easy to manage all your virtual environments from anywhere.
Prerequisites

Before diving into the installation process, make sure you have the following:
- A dedicated server or old PC – Proxmox requires at least 2 GB of RAM and 64 GB of storage (SSD recommended). A more powerful machine will give you better performance, but even an old desktop or laptop will work for small labs.
- A bootable USB drive – We’ll use this to install Proxmox VE.
- Internet connection – Required for updating Proxmox and installing packages.
Step 1: Installing Proxmox VE
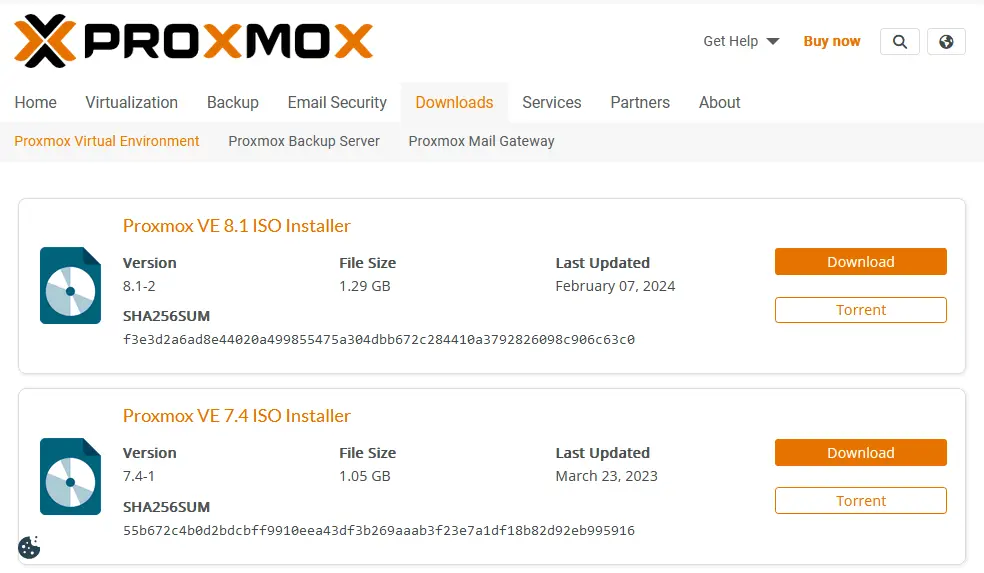
- Download Proxmox VE ISO
Go to the Proxmox Downloads Page and download the latest version of Proxmox VE. - Create a Bootable USB Drive
Use a tool like Rufus (Windows) or Etcher (Linux) to create a bootable USB drive with the Proxmox VE ISO you just downloaded. - Boot from USB
Insert the USB drive into your server and boot it. You may need to change the boot order in the BIOS to boot from USB. - Install Proxmox VE
Once the Proxmox installer loads, follow the on-screen instructions. Select the hard drive to install Proxmox on, and configure your network settings (hostname, IP address, etc.).
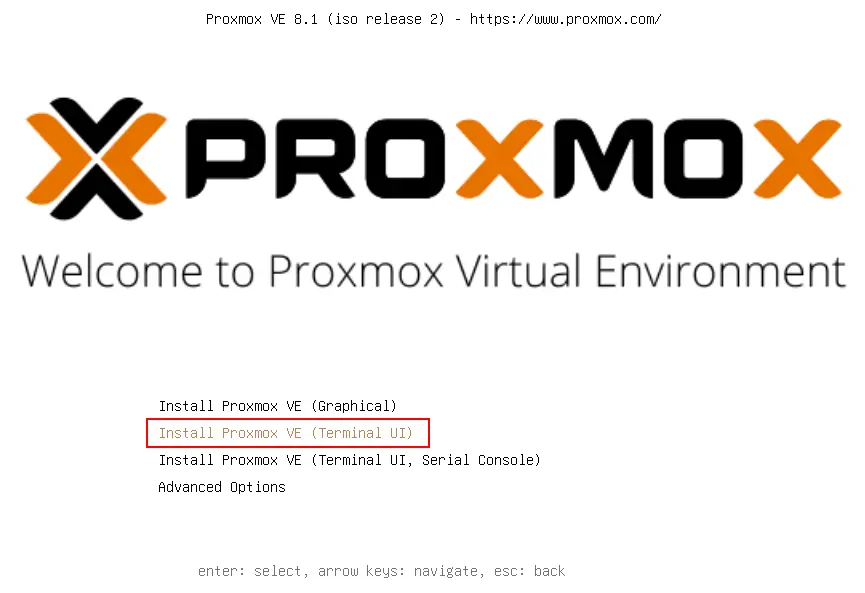
Read and accept the Proxmox VE end-user license agreement (EULA).
Select a target disk and file system to install Proxmox VE.
Enter the root password and confirm the root password. The Proxmox default username is root in this case. There is no Proxmox default password – you must set a custom password at this step. You can enter the administrator’s email address for communication.
Select a network interface, which will be the interface for Proxmox management via the network (ens33 in this case). Enter the network configuration. In this workflow, we use the following parameters:
- Hostname (FQDN): pve.localdomain
- IP address (CIDR) and netmask: 192.168.101.226/24
- Gateway address: 192.168.101.2
- DNS server address: 192.168.101.2
Once Proxmox VE is installed and rebooted, you can see the login screen in the console and the https link to access the web interface in a web browser

Reboot and Access Web Interface
After installation, reboot the server and access Proxmox VE’s web interface by navigating to https://<your-server-ip>:8006 from a browser on a device in the same network. Log in with the credentials you set during the installation.
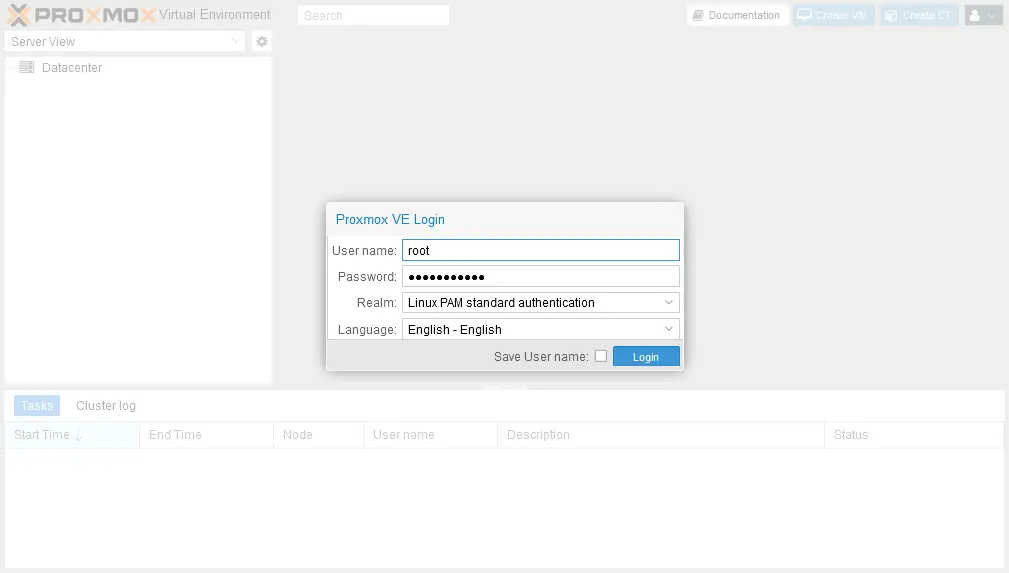
Now, you see the web interface for Proxmox VE management. You can perform post-installation configuration and deploy virtual machines (VMs). See the post-installation configuration section below for information on how to do this.
Step 2: Installing LXC Containers Using Community Scripts
Proxmox allows you to create virtual environments using either KVM (full virtualization) or LXC (lightweight containers). For this guide, we’ll focus on LXC, as containers are faster and more efficient than virtual machines.
We’ll be using the Proxmox VE community scripts, which automate the installation and configuration of various containers.
1. Update Proxmox Repositories
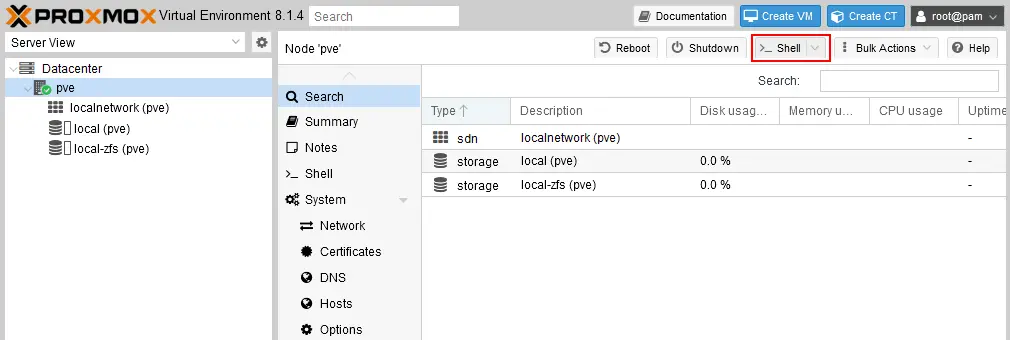
Proxmox repositories contain packages for updates and various utilities. You can modify or update them using a script.
Run the Script for Updating Repositories:
To update the repositories, use the following command in the terminal:
wget -qO- https://community-scripts.github.io/ProxmoxVE/scripts/proxmox-repo-update.sh | bash
This script ensures your Proxmox system is up to date with the latest packages and repositories.
2. Post-Install Setup for Proxmox VE
After installation, some additional setup steps might be needed to optimize your system, like configuring email notifications, system logs, and firewall settings.
Run the Post-Install script to automate this setup:
wget -qO- https://community-scripts.github.io/ProxmoxVE/scripts/proxmox-ve-post-install.sh | bash
This script will:
- Set up system monitoring and alerts
- Configure basic security settings
- Optimize performance for Proxmox
3. Create a Debian 12 LXC Container

LXC containers allow you to run lightweight Linux environments on your Proxmox server. We will now install a Debian 12 LXC container.
Run the Script to Install a Debian 12 LXC Container:
wget -qO- https://community-scripts.github.io/ProxmoxVE/scripts/debian-12-lxc.sh | bash
This script will:
- Download the latest Debian 12 image
- Create an LXC container with appropriate resource allocation
- Configure basic networking and access
Once the script completes, you’ll have a fully functional Debian container running on Proxmox VE!
Step 3: Managing LXC Containers via Proxmox Web Interface
You can manage your containers directly from the Proxmox web interface:
- Login to the Web Interface
Navigate tohttps://<your-server-ip>:8006and log in. - Create a New Container
Under the “Datacenter” section, select your node and click on the “Create CT” button to create a new LXC container. You’ll need to specify the container’s ID, hostname, and resources (CPU, RAM, Disk). - Start/Stop Containers
Once your container is created, you can start or stop it by selecting it from the list of containers and using the controls on the top-right of the screen.
Step 4: Expand Your Lab – More Containers and VMs
Once you’ve set up the basics, you can expand your lab by creating additional containers or even virtual machines for testing different configurations. Proxmox VE makes it easy to scale up your home server lab, whether you need a few more containers for specific tasks or a full set of VMs for more intensive work.
Step 5: Additional Resources and Customization
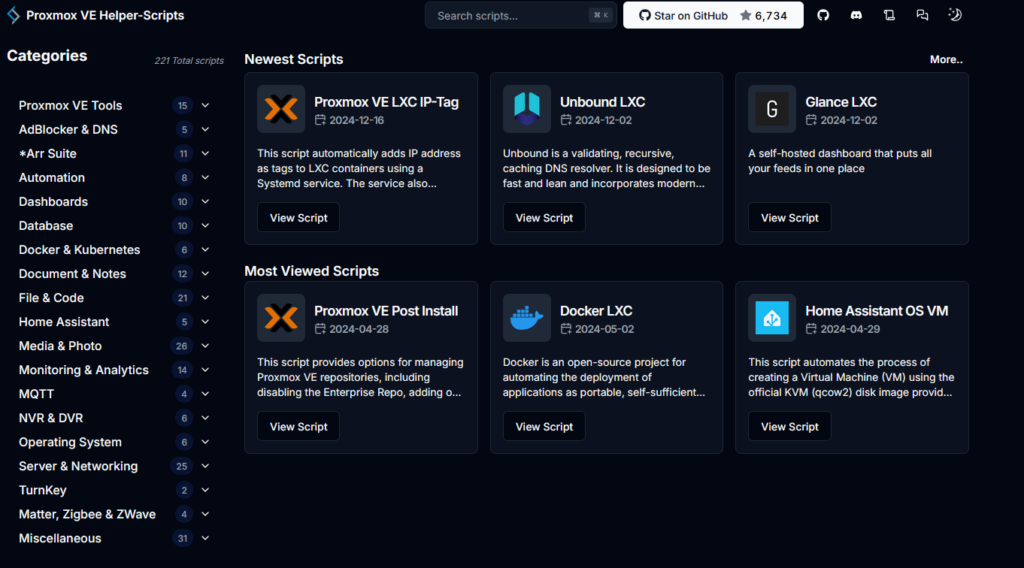
You can find more useful scripts on the Proxmox Community Scripts page. Some of the available scripts include:
- VM creation: Automate the creation of VMs with specific configurations.
- Backup solutions: Set up backup strategies for both containers and VMs.
- Monitoring: Set up monitoring tools for performance tracking.
Conclusion
By following this guide, you’ve set up a Proxmox VE server, installed LXC containers using helpful community scripts, and learned how to manage your virtual environments. Whether you’re testing a new application or experimenting with network configurations, Proxmox gives you the flexibility to create a robust and efficient home server lab.
What’s next for your Proxmox server? Will you expand your lab further, or try creating some VMs for different testing scenarios? Let me know what your next steps are!


No Comment! Be the first one.