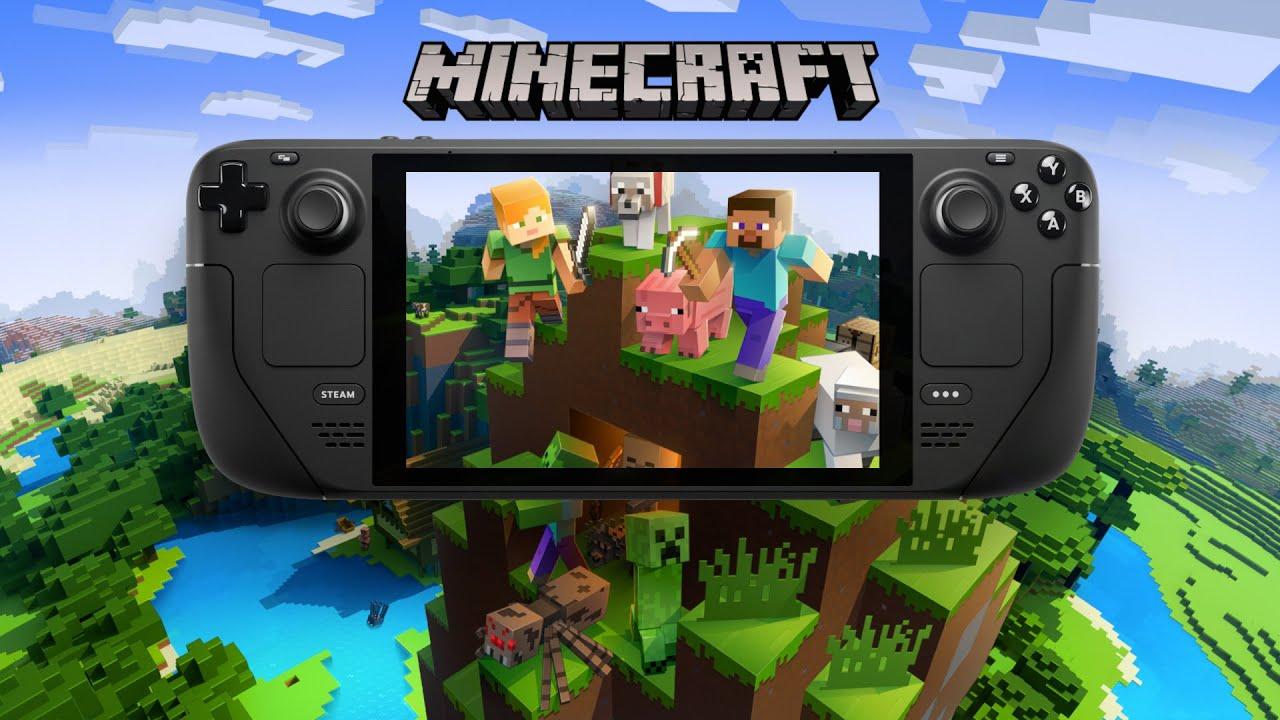
How to Install Minecraft on the Steam Deck
The Steam Deck is an amazing handheld gaming device, but unlike many PC games, Minecraft doesn’t natively support SteamOS. Fortunately, with a few simple steps, you can install and play Minecraft Java Edition on your Steam Deck using Prism Launcher—a powerful and flexible launcher that makes managing Minecraft versions and mods a breeze.
Table Of Content
- Step 1: Switch to Desktop Mode
- Step 2: Install Prism Launcher
- What is Prism Launcher?
- How to Install Prism Launcher on the Steam Deck
- Step 3: Launch Prism Launcher and Log In
- Step 4: Install Java (If Needed)
- Step 5: Adding Minecraft to Steam for Game Mode Access
- Step 6: Switch Back to Gaming Mode and Play!
- Optional: Install Mods and Performance Tweaks
- Final Thoughts
In this guide, I’ll walk you through the process of setting up Minecraft on the Steam Deck, from switching to Desktop Mode to launching the game in Gaming Mode for a seamless experience.
Step 1: Switch to Desktop Mode
Before we can install Minecraft, we need to access the Steam Deck’s Linux-based desktop environment.
- Press the Steam button.
- Scroll down and select Power.
- Choose Switch to Desktop Mode.
Step 2: Install Prism Launcher
To run Minecraft Java Edition, we’ll use Prism Launcher, a powerful alternative to the official launcher.
What is Prism Launcher?
Prism Launcher is an open-source Minecraft launcher forked from MultiMC, designed to provide a flexible and customizable way to manage Minecraft installations. It allows users to create and manage multiple game installations, or “instances,” each with their own unique mods, resource packs, settings, and configurations.
Originally forked due to concerns over packaging and redistribution, Prism Launcher has since evolved into a community-driven project with exciting new features. It remains true to its open-source philosophy, ensuring anyone can fork, redistribute, or repackage the software, as long as they adhere to its licensing terms. This makes Prism Launcher one of the best choices for Minecraft players who enjoy modding and customization.
How to Install Prism Launcher on the Steam Deck
- Open Discover, the software center in Desktop Mode.
- In the search bar, type Prism Launcher.
- Click Install and wait for the installation to complete.
Step 3: Launch Prism Launcher and Log In
Once installed:
- Open Prism Launcher from the application menu.
- Click Add Instance to create a new Minecraft installation.
- Sign in with your Microsoft account (since Mojang accounts have migrated).
- Select your preferred Minecraft version and click Create.
Step 4: Install Java (If Needed)
Prism Launcher requires Java to run Minecraft. If it’s not installed, Prism Launcher will prompt you to download a compatible version.
- If prompted, allow Prism Launcher to download the recommended Java runtime.
- If no prompt appears, check under Settings > Java to ensure you have the correct version installed.
Step 5: Adding Minecraft to Steam for Game Mode Access
To make launching Minecraft easier in Gaming Mode, we’ll add Prism Launcher to Steam.
- Open Steam (while still in Desktop Mode).
- Click Add a Game (bottom left corner).
- Select Add a Non-Steam Game.
- Find Prism Launcher in the list and check the box.
- Click Add Selected Programs.
Step 6: Switch Back to Gaming Mode and Play!
Now that Minecraft is installed and added to Steam:
- Return to Gaming Mode by clicking Return to Gaming Mode on the Desktop.
- Open Steam and find Prism Launcher in your library.
- Launch it, select your Minecraft instance, and start playing!
Optional: Install Mods and Performance Tweaks
Prism Launcher makes it easy to customize your Minecraft experience. Here are some popular tweaks:
- OptiFine – Improves graphics and performance.
- Sodium & Lithium – Boosts FPS and optimizes game mechanics.
- Fabric or Forge – Enables modding support.
Final Thoughts
With these simple steps, you can enjoy Minecraft Java Edition on your Steam Deck, fully optimized and mod-ready. Whether you’re playing survival mode, exploring multiplayer servers, or running a heavily modded setup, the experience is smooth and fully customisable.


